CraftyChristine

Sunday, January 30, 2011

Laundry Soap

Making Laundry Soap

Today I made some laundry soap. I know it sounds kinda crazy but it is easy, cheap, and free of a lot of the junk they put in the store bought stuff. The soap works great too! You can make liquid or power soap. Today I made the liquid.

Making Laundry Soap

Basically you take three laundry items and combine them to make the soap. You need 1 bar of Fels-Naptha, 1 cup Washing Soda and ½ cup Borax. If you don't already have a Fels-Naptha bar get one! Even if you are not going to make this soap it is a great pre-treater to get out anything. Love it! Also Washing soda is not baking soda. Both are made by Arm & Hammer but very different.

Making Laundry Soap

First grate the Fels-Naptha in a pan. You are going to melt this to use as the soap base. I don't know if you have to, but I have a pan and spoon I use just for this. So I don't know if it will leave a residue or make the pan taste funny after. I went to a thrift store and got an inexpensive pan so I wouldn't have to find out :)

Making Laundry Soap

For this part I don't follow the recipe. It says to just add 4 cups of water to the grated soap, I add more. I think it melts easier. Plus eventually this will end up being 5 gallons so whether you add 4 cups or 15 now doesn't matter so I just fill my pan.

Making Laundry Soap

While the soap is melting go ahead and get a 5 gallon bucket and put in the washing soda and borax.

Making Laundry Soap

Then you can add enough hot water to dissolve the powders.

Making Laundry Soap

Once the Fels-Natha is all dissolved it will look a little something like this. Much nicer than the chunky version!

Making Laundry Soap

Then you dump that in the bucket with the washing soda mix. Give it a stir and fill the bucket the rest of the way with hot water. Let it cool overnight and it will thicken up and be ready to use. If you try it I hope it works for you! We like it.

Here is an easier text only version of the recipe:

Homemade Liquid Laundry Soap

4 Cups - hot tap water
1 Fels-Naptha soap bar
1 Cup -
Arm & Hammer Washing Soda
½ Cup Borax

- Grate bar of soap and add to saucepan with water. Stir continually over medium-low heat until soap dissolves and is melted.

-Fill a 5 gallon bucket half full of hot tap water. Add melted soap, washing soda and Borax. Stir well until all powder is dissolved. Fill bucket to top with more hot water. Stir, cover and let sit overnight to thicken.

-Stir and fill a used, clean, laundry soap dispenser half full with soap and then fill rest of way with water. Shake before each use. (will gel)

-Optional: You can add 10-15 drops of essential oil per 2 gallons. Add once soap has cooled. Ideas: lavender, rosemary, tea tree oil.

-Yield: Liquid soap recipe makes 10 gallons.

-Top Load Machine- 5/8 Cup per load (Approx. 180 loads)

-Front Load Machines- ¼ Cup per load (Approx. 640 loads)

Wednesday, January 26, 2011

New Toys :)

New Books
Well my stitching from the last post isn't done yet. Progressing, but needs to be finished up tonight while watching some fluff t.v. But when it is done I have a lot more projects to choose from! Today I got two books I ordered with a gift card I got for Christmas. I am so excited to make some of the projects from them. I have been looking at these books for awhile but it was nice to be able to order them guilt free :)

We also got something fun for Trevor today.
IMG_6075_1

IMG_6077

Yes, a manual typewriter! It is so cool. He loves it and was excited to sit down and write a few little notes to people when we got home with it. It needs a little love and a new ribbon but other than that it is great. We got a great tip from another homeschooler that is was at Goodwill waiting to find a new home so we ran over and snatched it up. So far we are very happy with it and it has encouraged some writing. So we hope that continues!

IMG_6068_1

Monday, January 24, 2011

Cake and Stiching

Bird in Progress
Here is my latest project. It is a bird, I think it will become part of a mug rug but I'm not sure yet. I just needed to make something. So I looked through the patterns I had collected on the computer and started stitching it up Sunday. I'm not sure what it's destiny is, but it's cute!

I also thought I would share a cake I made a few weeks ago. I took pictures as I made it so I could share it with you all so you could see the process. I think it is kind of amazing how a cake, 2 cupcakes, and some rice krispy treats turn into a dino!

Monty's Dino
Here you can see everything just put together. I stacked two cupcakes and shaped them a little to make the head. The body is made with the cake pan that you stick a doll in to make a princess. It's a Wonder pan by Wilton. Then the neck and tail are rice krispy treats you shape while still warm. the trick to this is spraying your hands with Pam or something like it. Seriously if you don't you end up super sticky!

Monty's Dino
Frosting in my favorite bowl :) Just sharing cause I luv it!

Monty's Dino
Monty's Dino
Crumb coat and then smoothed out.

Monty's DinoMonty's Dino
Add fondant details...

Monty's Dino
And all done with the sand (graham cracker crumbs). I think he turned out really cute.

Saturday, January 22, 2011

Lego Cleanup!

IMG_5677

I saw a post on another blogger's page and found some inspiration. So we have spent the last few days doing some major Lego cleaning around here! I know kind of an odd thing to focus on, but the bins were making me crazy. We had most of Trev's Legos in one big bin and while this kind of worked it also made it hard to find things. So he would dump about half out when looking for that one piece needed to finish his creation. Plus when things got picked up not only Legos would end up in the bin and it was impossible to clean. So after seeing this great post on Mrs. Jones blog. We had a new plan!

IMG_5682

The labels are so cute and it looked like something worth at least trying. So we headed to IKEA and got some smaller bins for a shelf already in Trev's room and started sorting! Now it is much better organized and easier to deal with. We will see if it works and they stay this way!

IMG_6058 IMG_6066

Tuesday, January 18, 2011

Christmas Crafting

christmas

1. Christmas Quilt, 2. Butterfly dress-up cape, 3. Magnetic "paper" dolls, 4. This years calendar., 5. Bat dress-up cape, 6. IMG_0174, 7. Jewlery making box, 8. Christmas Quilt, 9. Tiny Pies

I love making gifts for people so Christmas tends to be a hard time of year for me. I want to make gifts for everyone but no one has that kind of time. So instead of enjoying the holidays I end up over extended and stressed. So the last few years I have made a promise to myself not to make gifts for everyone. Instead I pick a few things for people I know will enjoy them. So here are a few things I made this year. It was a nice year. One where I got to sleep :)
Welcome to my often forgotten blog. My hope is to be here updating more regularly this year. Then again we have all said that before haven't we? :) Well we will try and see how it goes. I can't tell you how many times I have written posts in my head so now we will see if I can get them on screen! I am going to start with some projects I have done recently and all we can do is go from there!

Monday, April 02, 2007

Another Birthday Gift...

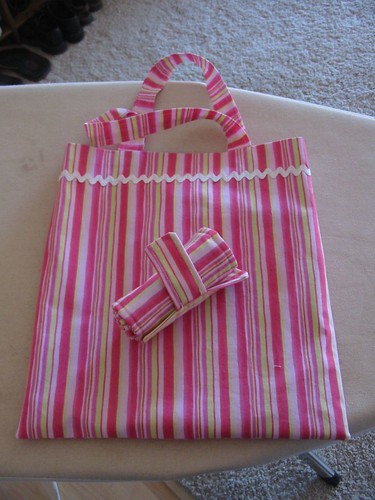
Here is the latest crayon holder and bag set I have made. These make great gifts and since a lot of kids like to color they come in handy. The bag is a little bigger than a coloring book. I usually put the child's name on the bag but the machine was having technical difficulties the other night.

Friday, March 23, 2007

Check out this beauty...

I made over at the Astro-Weenie Christmas Tree Blog! Scroll down on the blog to find me!!!

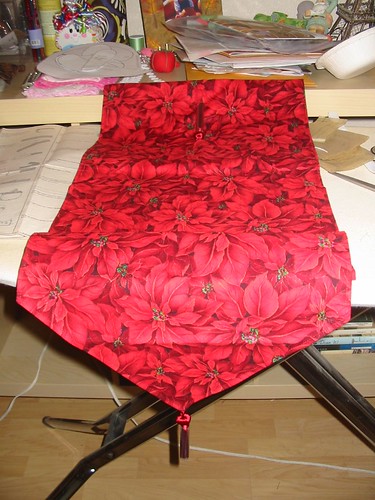
The Rest of the Christmas Craft!

Some of the other things that I made for Christmas!


Sunday, December 31, 2006

So I have been Busy...

and have not posted on here in a looooong time. But I have been making stuff and a lot of it as it got closer to Christmas. I had this insane idea that I could make most of my gifts this year and I did make a lot of it. But really making everything is crazy; it takes a lot of time and means you will miss out on some of the fun parts of the holiday. I think I will either start preparing for next year now or just be a little more realistic :)

Here is some of what I made! I will post the rest of it later ;)

Sunday, August 27, 2006

More Birthday gifts!!

Here are the gifts I made for the party we went to this weekend.


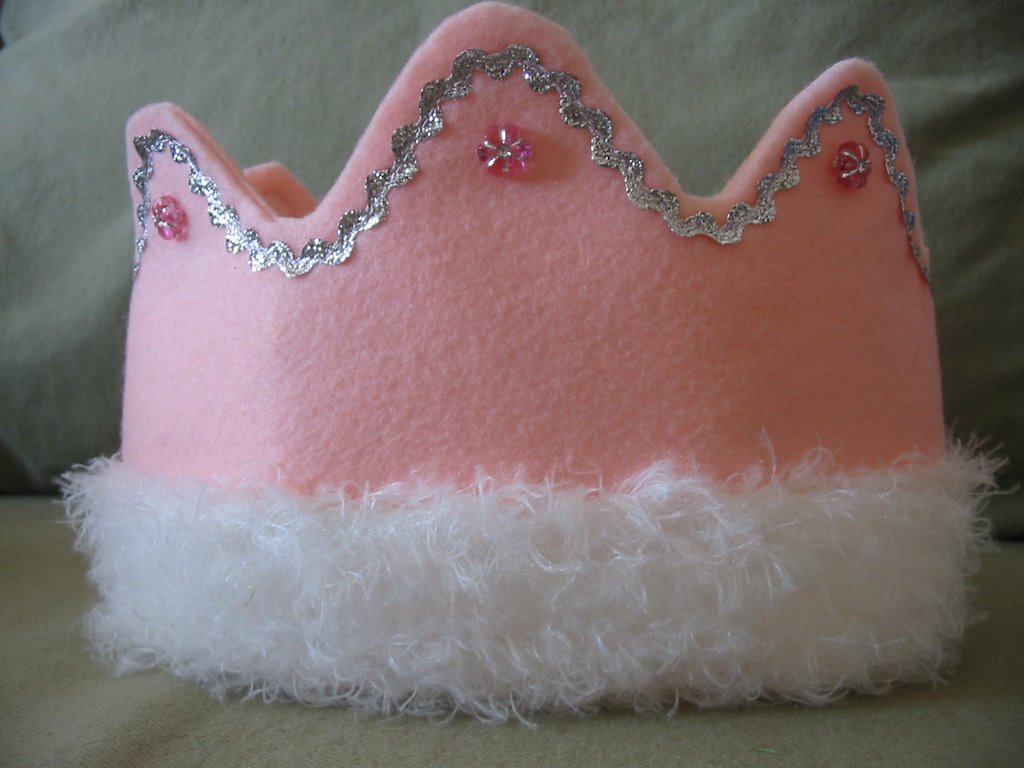
I love making girly stuff! This is the princess crown. Fuzzy fleece is fun but it sure is messy!


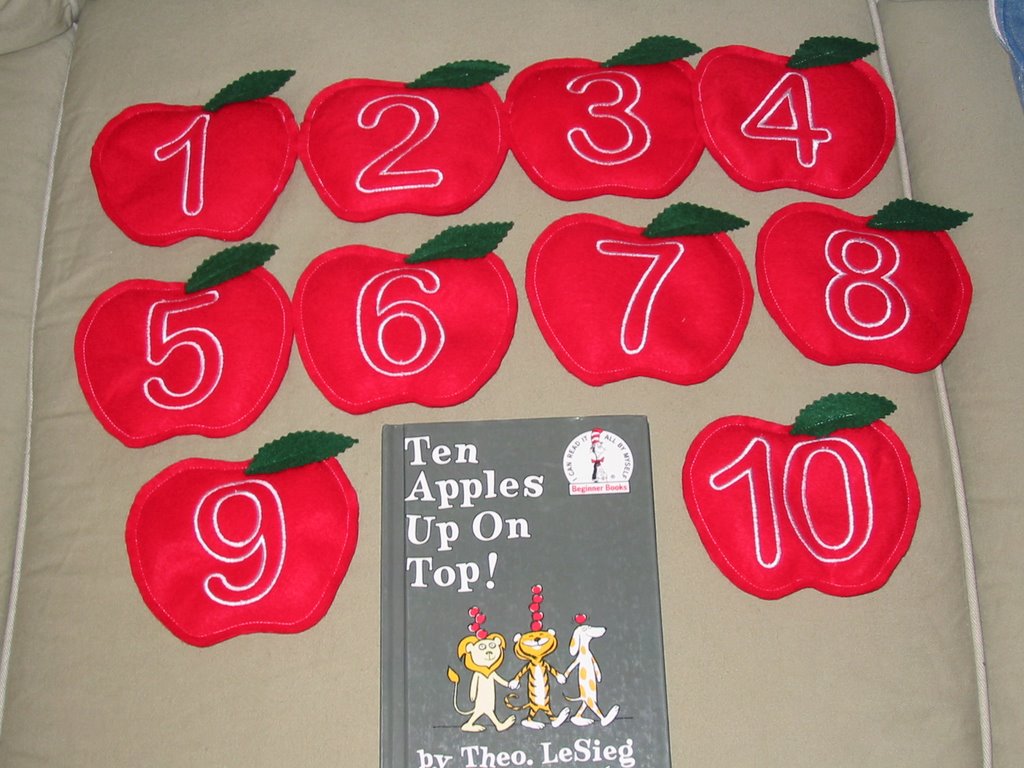
A set of apple bean bags to go with the book Ten Apples on Top.

Friday, August 18, 2006

Other things...

Here are a few other things I have made lately.

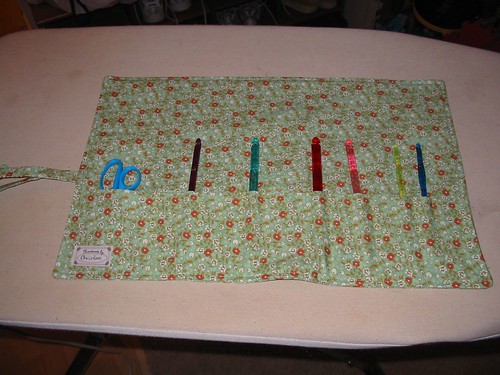
This is the rest of the birthday present from a previous post. It is a travel crayon holder. I made Trevor one too out of the green bug fabric I used for his school stuff. They are cute and very handy!


Trevor's 4th of July shorts.


and my very first crochet hat!

Wednesday, August 16, 2006

Back to School...Back to Craft!

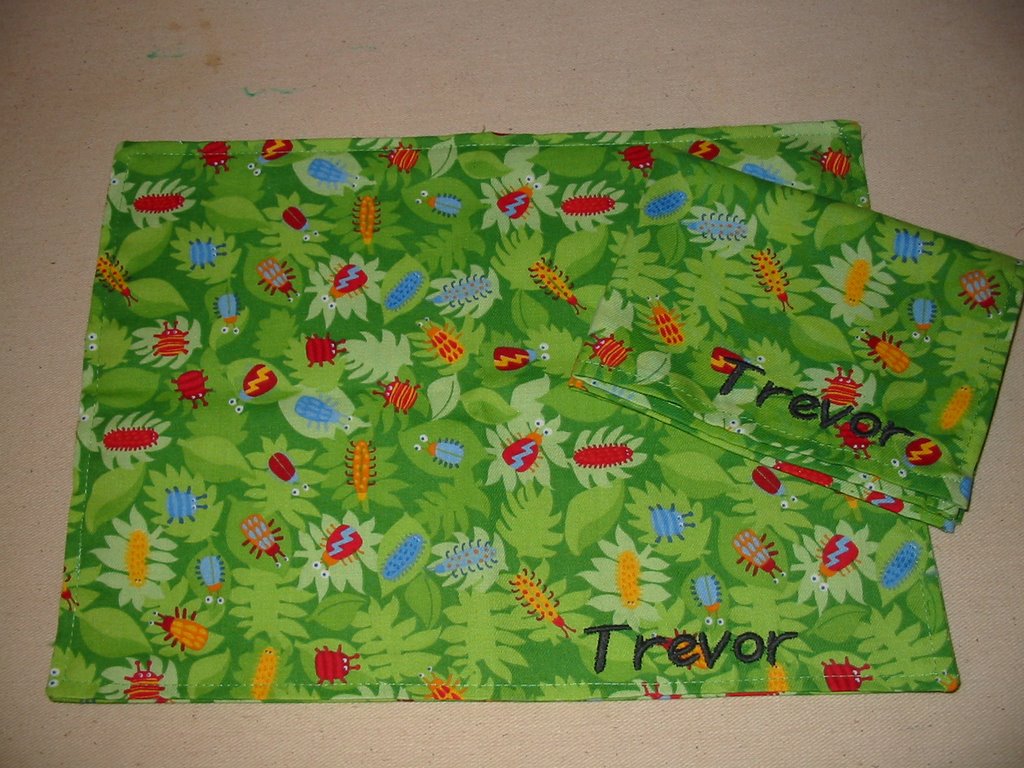
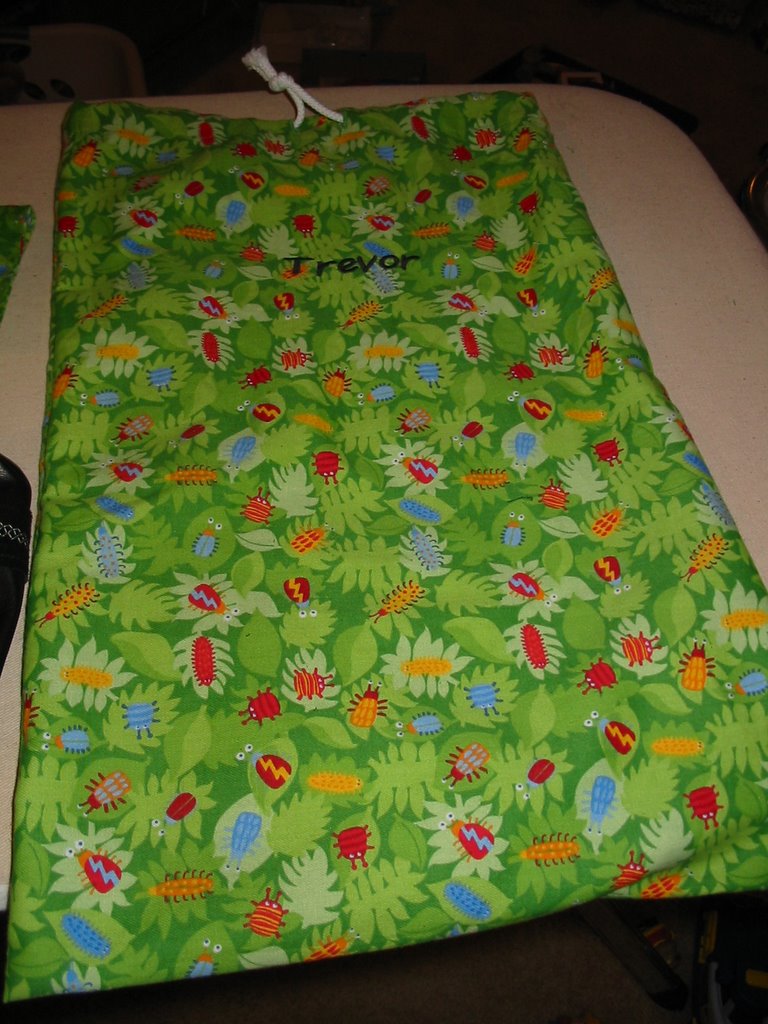
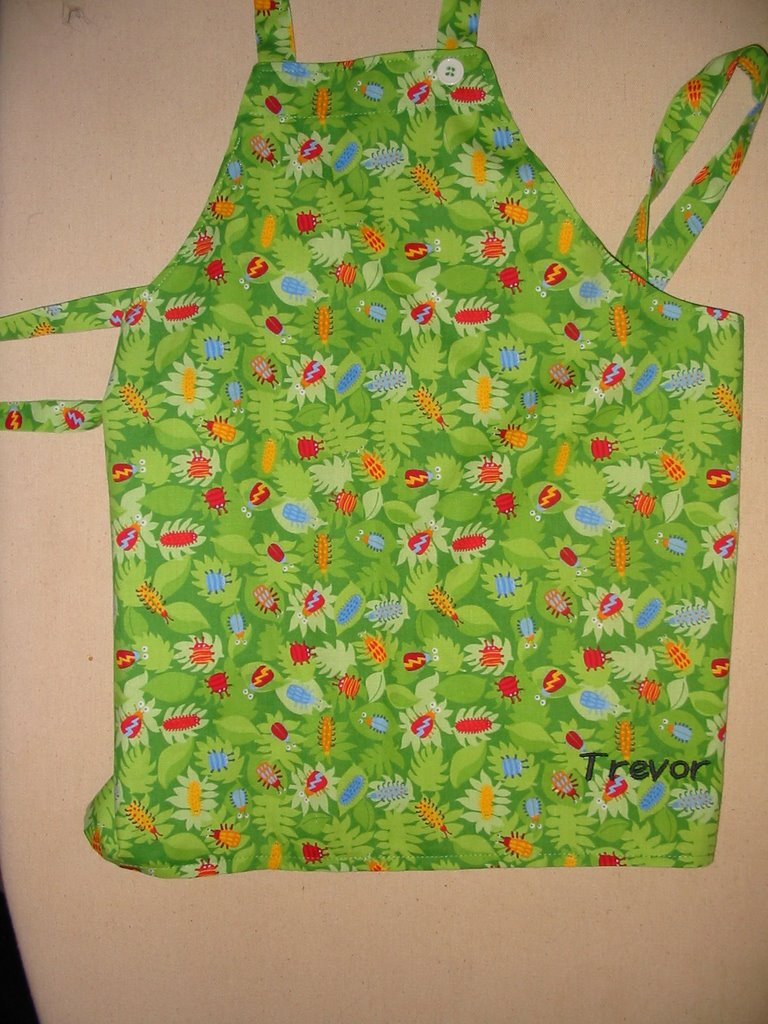
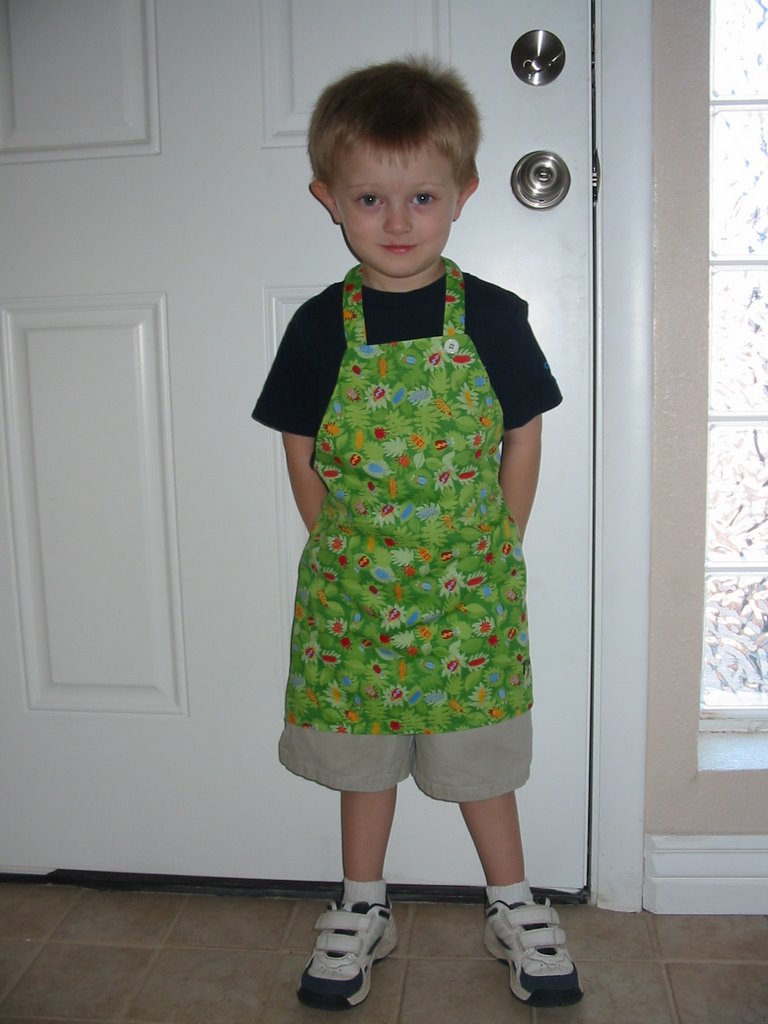
Well after some time off for the family vacation crafting had to start full force again since Trevor started preschool Monday and needed a bunch of stuff for class. He needed a matching set with a placemat, napkin, drawstring bag, and apron. He also needed some slippers for in the classroom. So here is the set I made him:


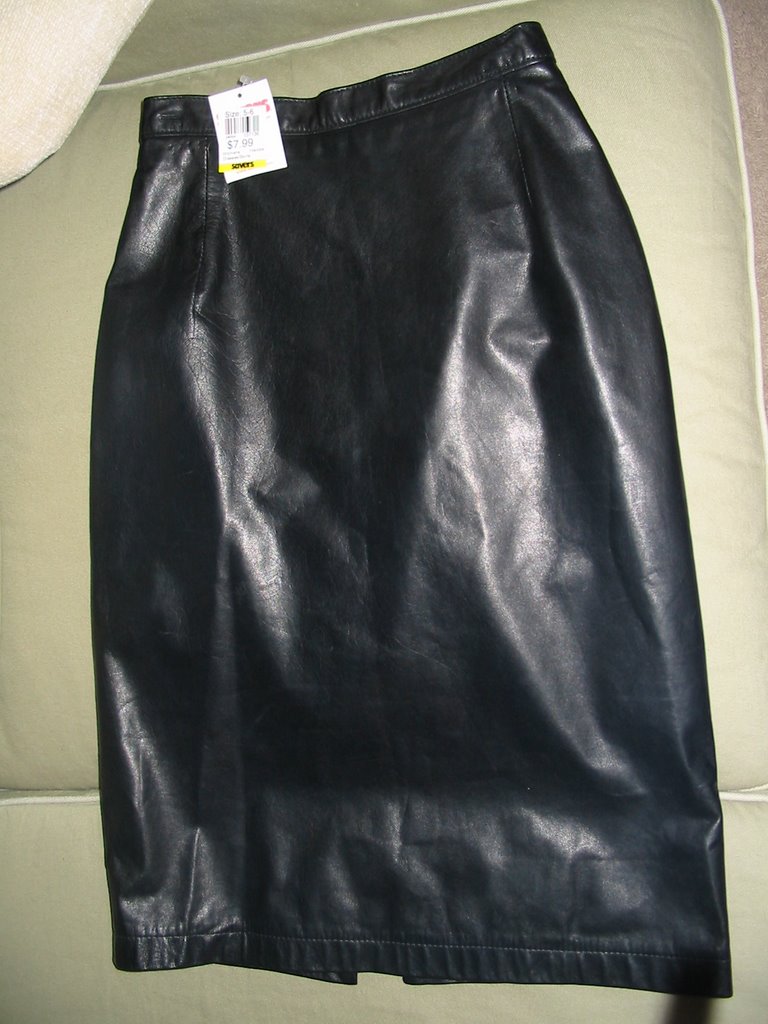
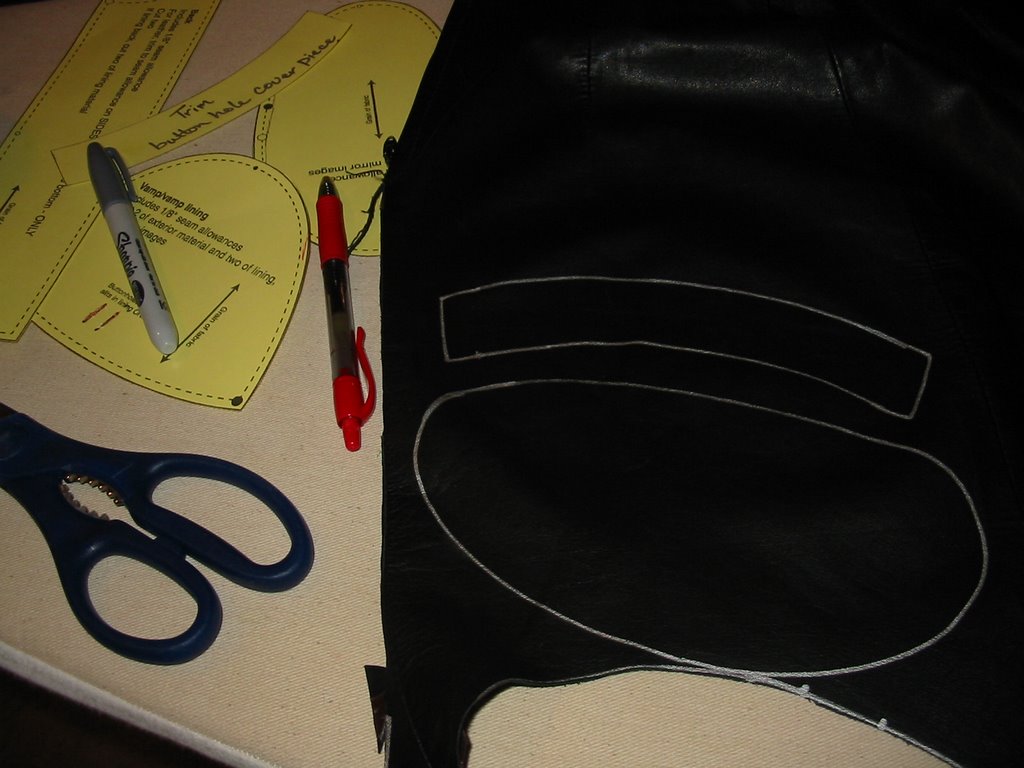
Here are the slipper/shoes. They are like the leather baby shoes you see a lot. I made them from a thrifted leather skirt and a free pattern I found online :)

I think they turned out pretty good considering they are the first pair of shoes I have ever made.